


Darkness isn't your enemy. It's what makes your experience special. The atmosphere of evening, the magic of twilight, the intimacy of nighttime; these are your selling points. The trick is capturing that magic in a way that builds excitement, not uncertainty.
Here are 7 practical tips to make your night experience photos stand out and drive bookings.
1. Nail your first photo
Your first photo is the most important image in your entire gallery.
It's what appears in search results, in ads, on category pages, and in recommendations. For many travelers, it's the only photo that determines whether they click or keep scrolling.
For night experiences, this is even more critical. You're competing against daytime tours with naturally bright, colorful images, so it needs to stop the scroll.
What makes a strong first photo for night experiences:
- Golden hour or blue hour shots with warm, glowing light and visible faces. For example, you could show travelers laughing together as city lights begin to twinkle behind them. These are the safest bet for most experiences.
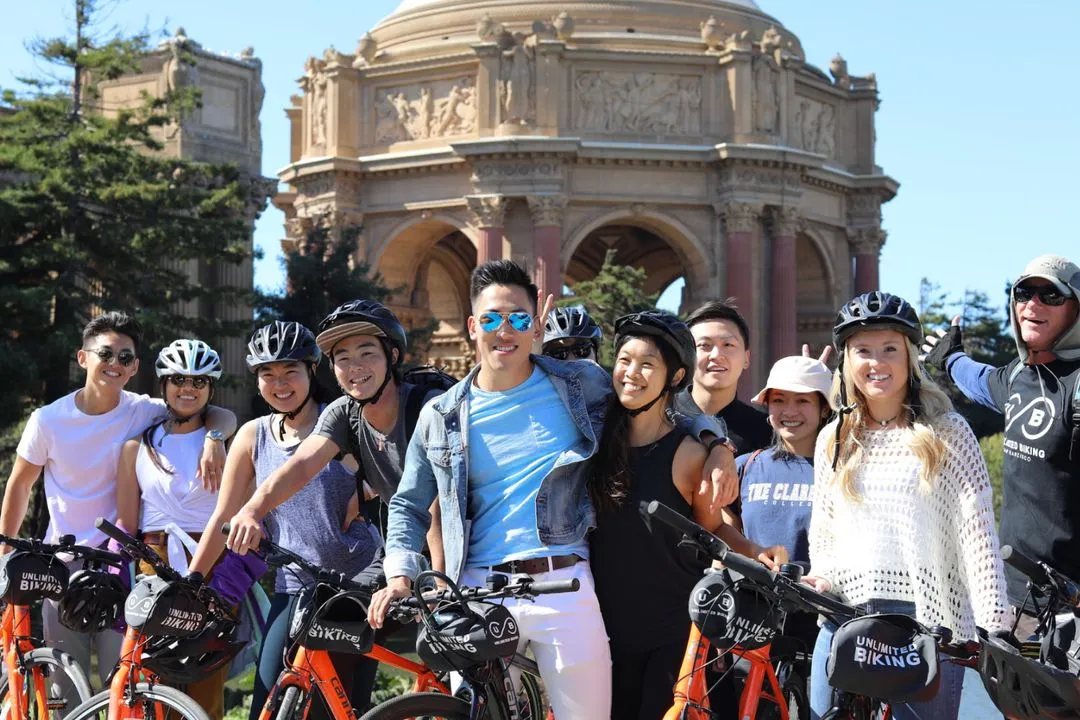
- Well-lit group moments where people are laughing, engaged, or experiencing something together. These work best for food tours, walking tours, and other hands-on experiences where the activity is the star. A photo of people tasting food at a brightly lit market stall or raising glasses during a rooftop toast communicates both the activity and the vibe.
- Silhouettes against stunning backdrops. This can be powerful, but only when the silhouette clearly shows what's happening. A group on a boat against a sunset sky works. A dark blob in front of a landmark doesn't.
Pro tip: Before you set your cover photo, shrink it to thumbnail size on your phone. If you can't tell what the experience is within 2 seconds, pick a different photo.
Recommended read: Your first photo can make or break your bookings for more tips on choosing the perfect hero image.
2. Shoot during golden hour and blue hour
If your tour starts at sunset or during twilight, you have a natural advantage.
Golden hour (the hour just before sunset) and blue hour (the 20-30 minutes after sunset) give you naturally beautiful light that's still bright enough to capture sharp, colorful images.
What to capture during these times:
- The sun touching the horizon with your group silhouetted or side-lit
- Rich blue tones when city lights start twinkling
- Transition moments: the sky changing colors, lights turning on, day becoming night
- Your travelers' faces during these magical lighting moments
These photos are eye-catching and immediately communicate "evening experience".
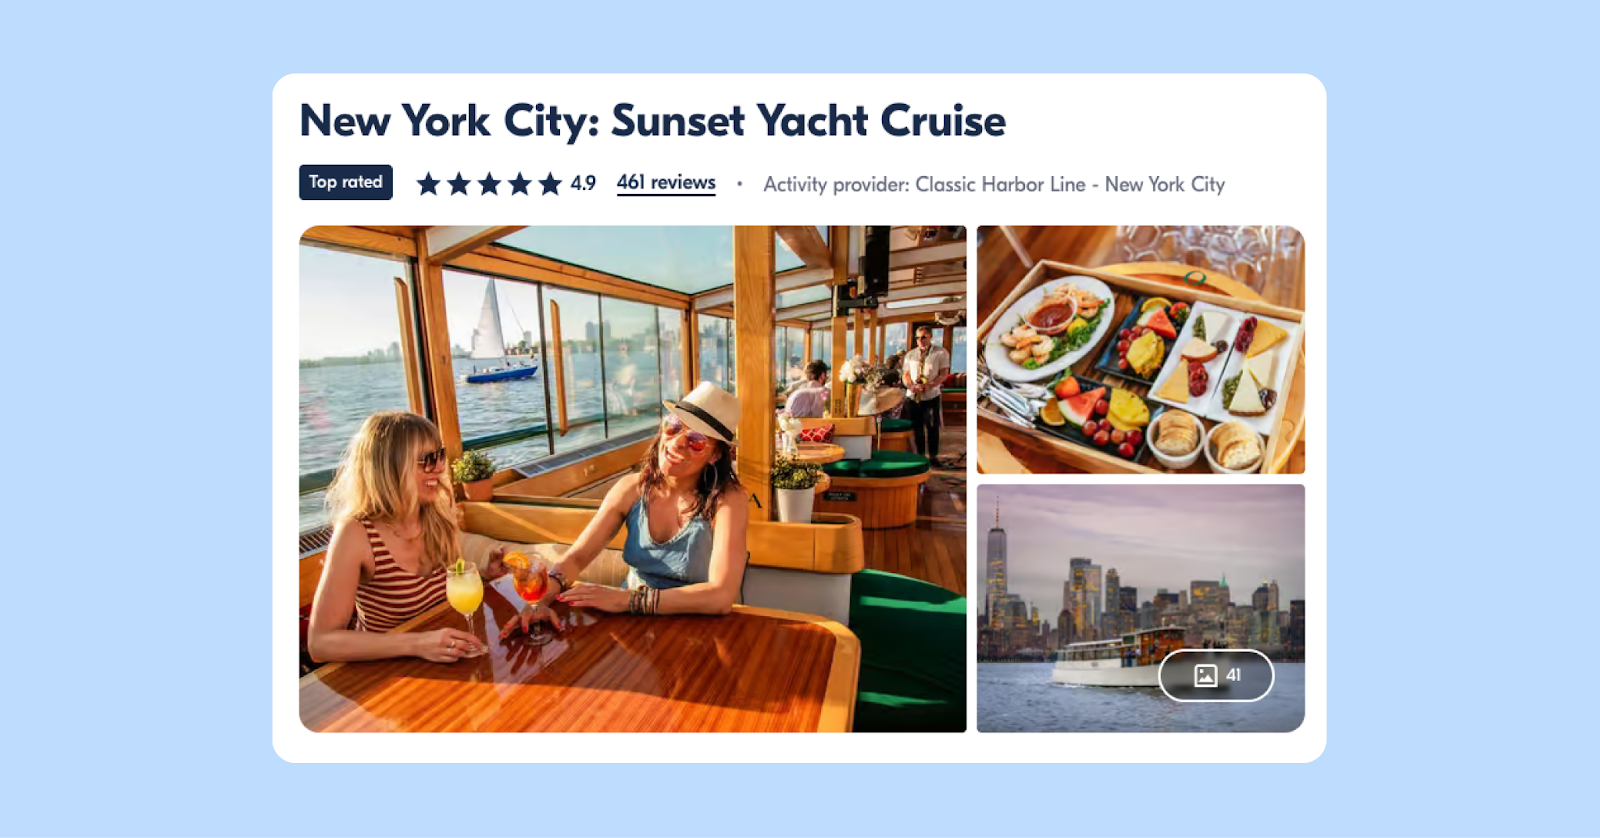
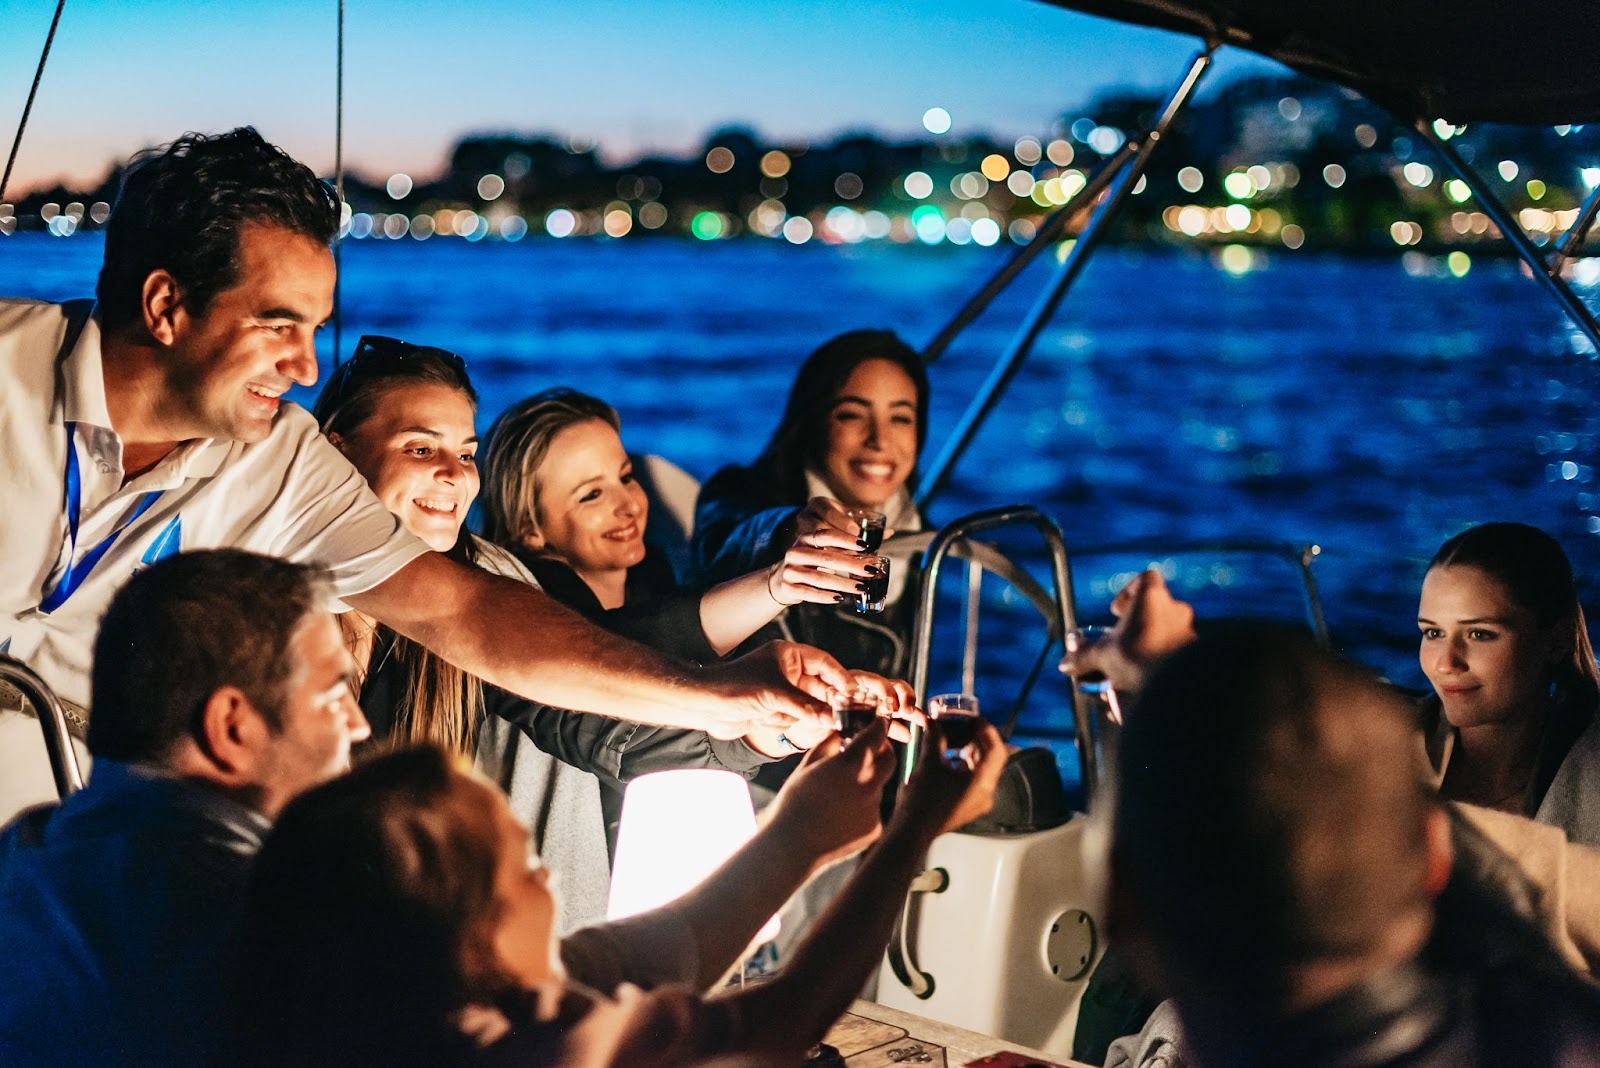
Example: The New York City: Sunset Yacht Cruise captures the perfect golden hour moment. The Manhattan skyline glowing, guests visible on deck with champagne glasses, the atmosphere saying "special evening."
3. Find and use existing light sources
You don't need fancy equipment; the lights already around you do the heavy lifting.
Your route likely includes stops at restaurants, bars, markets, landmarks, or other locations with good lighting. These are golden opportunities for clear, attractive photos.
Look for venues and moments with natural lighting:
- Illuminated restaurants or food markets
- Rooftop bars with ambient lighting
- Landmarks lit up at night
- Streets with good street lighting
- Storefronts with window displays
If two routes lead to the same place, pick the one with better lighting for photos. These well-lit stops let you take clear photos of faces and activities while keeping that nighttime feel in the background.
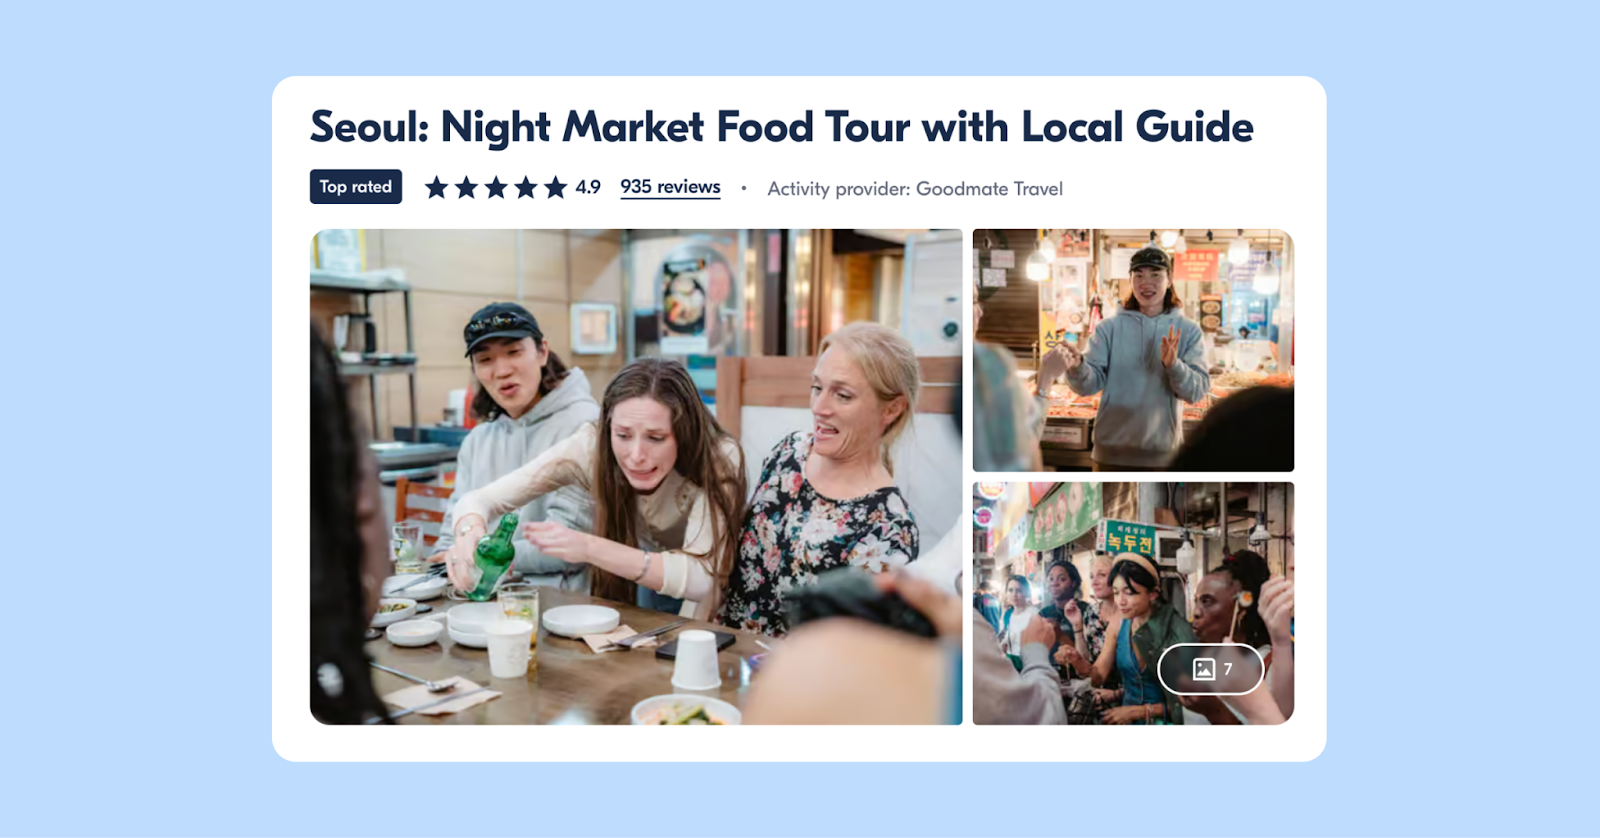
Example: The Seoul Night Market Food Tour shows travelers at bustling night markets – faces clearly visible under bright market lights, with colorful food stalls creating energy in the background.
4. Build a gallery that tells a complete story
Once your first photo gets someone to click, your gallery needs to take them on a journey and answer every question a traveler might have about booking a night experience.
Your gallery should include:
- The atmosphere: Photos that capture the mood and magic of your experience at night. The glow of city lights, the intimacy of a small group, the drama of a sunset sky. These are your emotional selling points.
- Clear activity shots: Photos that show exactly what people will be doing. If it's a food tour, show the food. If it's stargazing, show the telescopes. If it's a walking tour, show the group walking and the guide explaining something interesting.
- People's faces and reactions: Travelers want to see themselves in your photos. Show real people (diverse ages, groups, couples, solo travelers) genuinely enjoying themselves. Faces should be visible and lit well enough to see expressions.
- Safety and comfort cues: Photos that answer the unspoken concern: "Will I be safe and comfortable doing this at night?" Show your guide with the group, bright pathways, comfortable seating areas, or any other details that communicate "this is safe and well-organized.”
- The setting and location: Wide shots that establish where you are and what makes this location special. The city skyline, the landscape, the venue. These help travelers visualize the full experience.
You want a balance: atmospheric shots that sell the vibe and clear, well-lit shots that build trust. Too much darkness creates uncertainty. Too much brightness loses the nighttime magic.
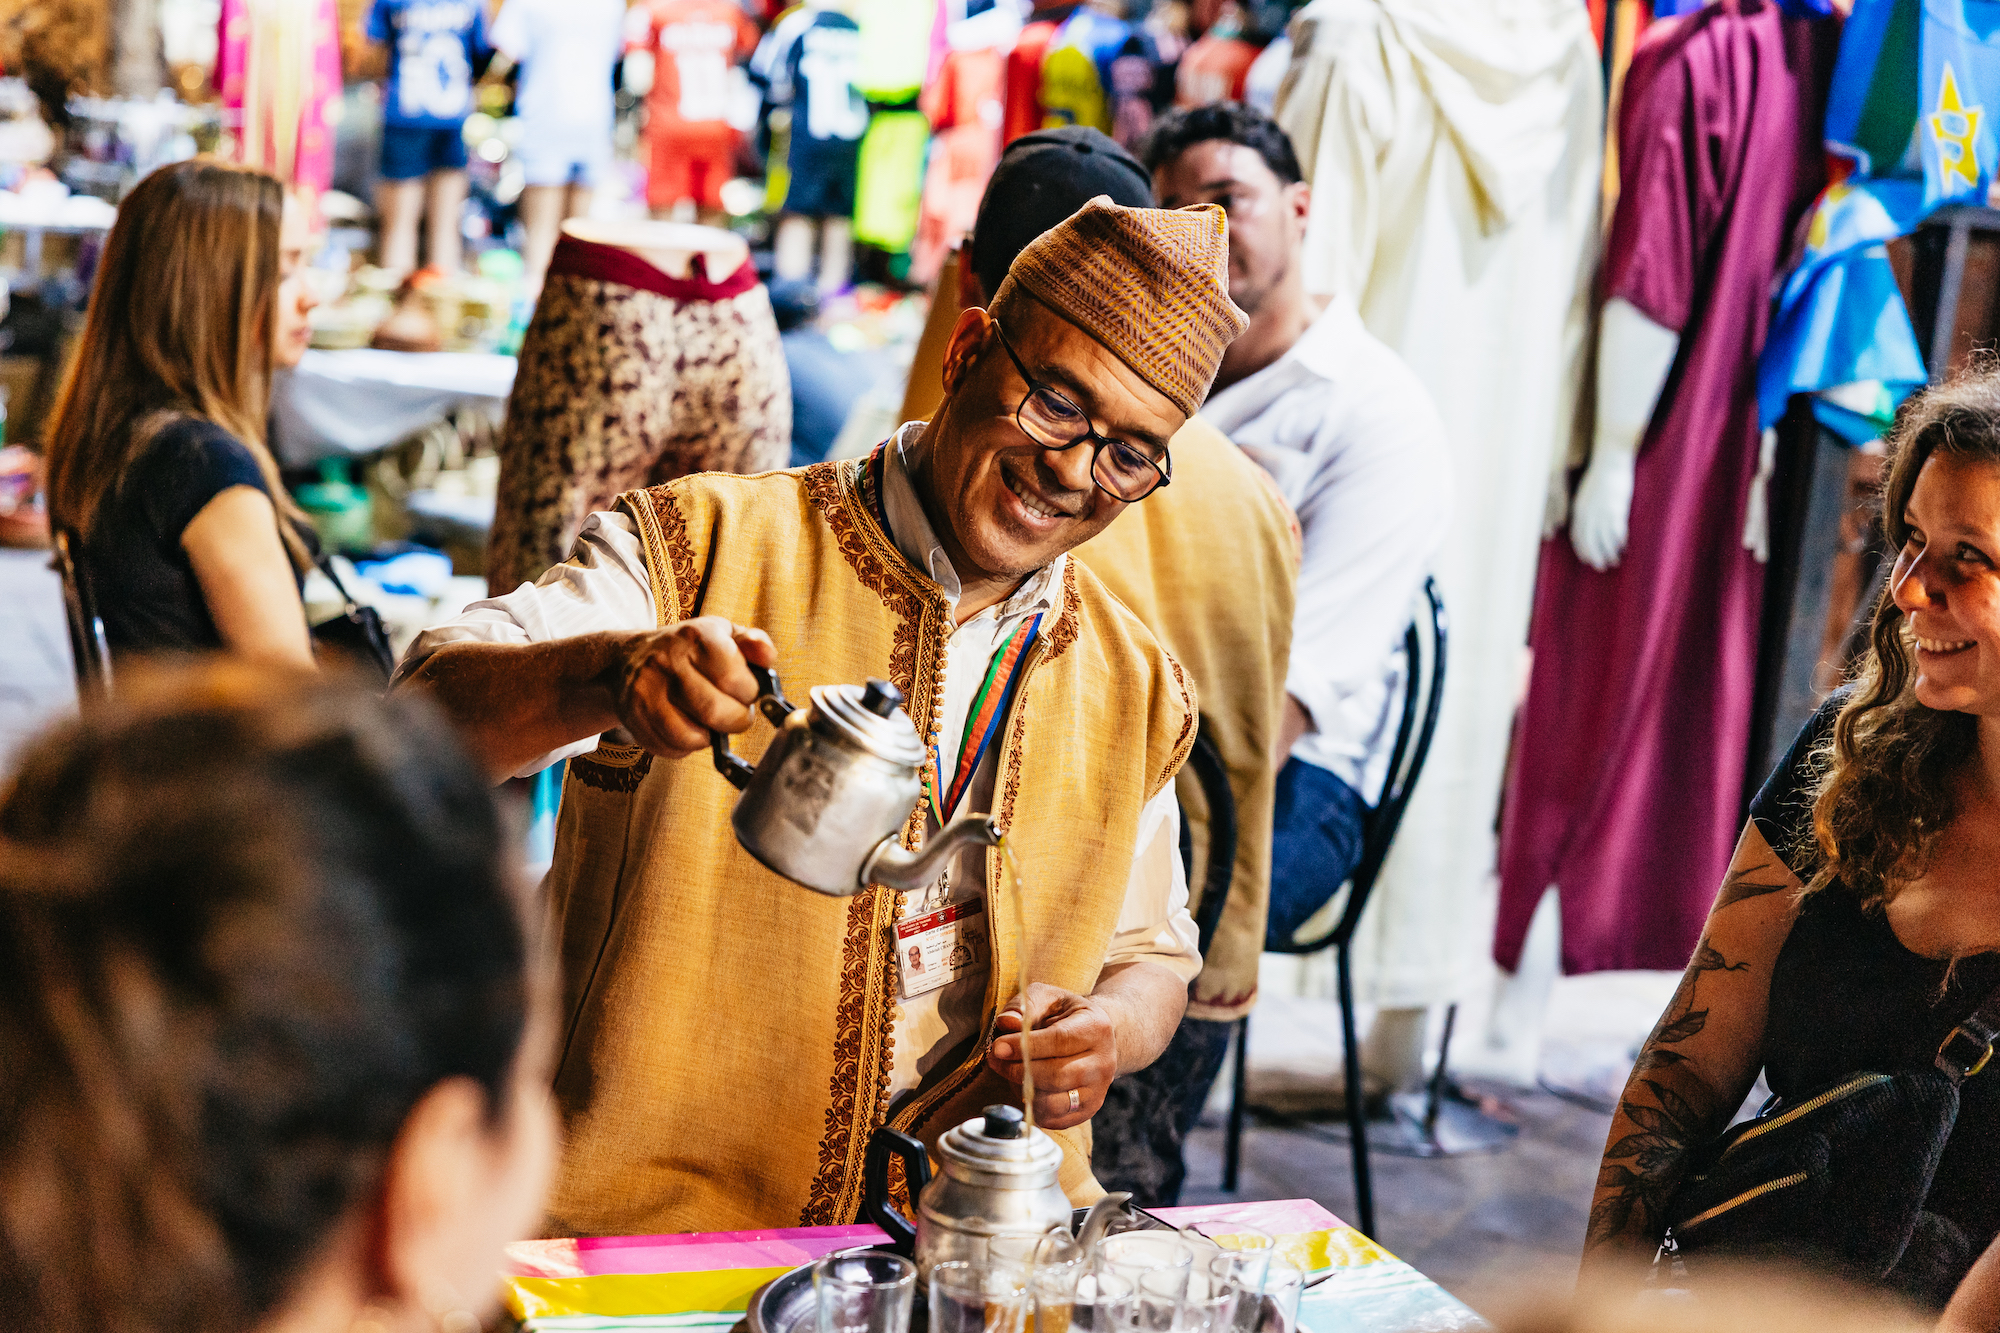
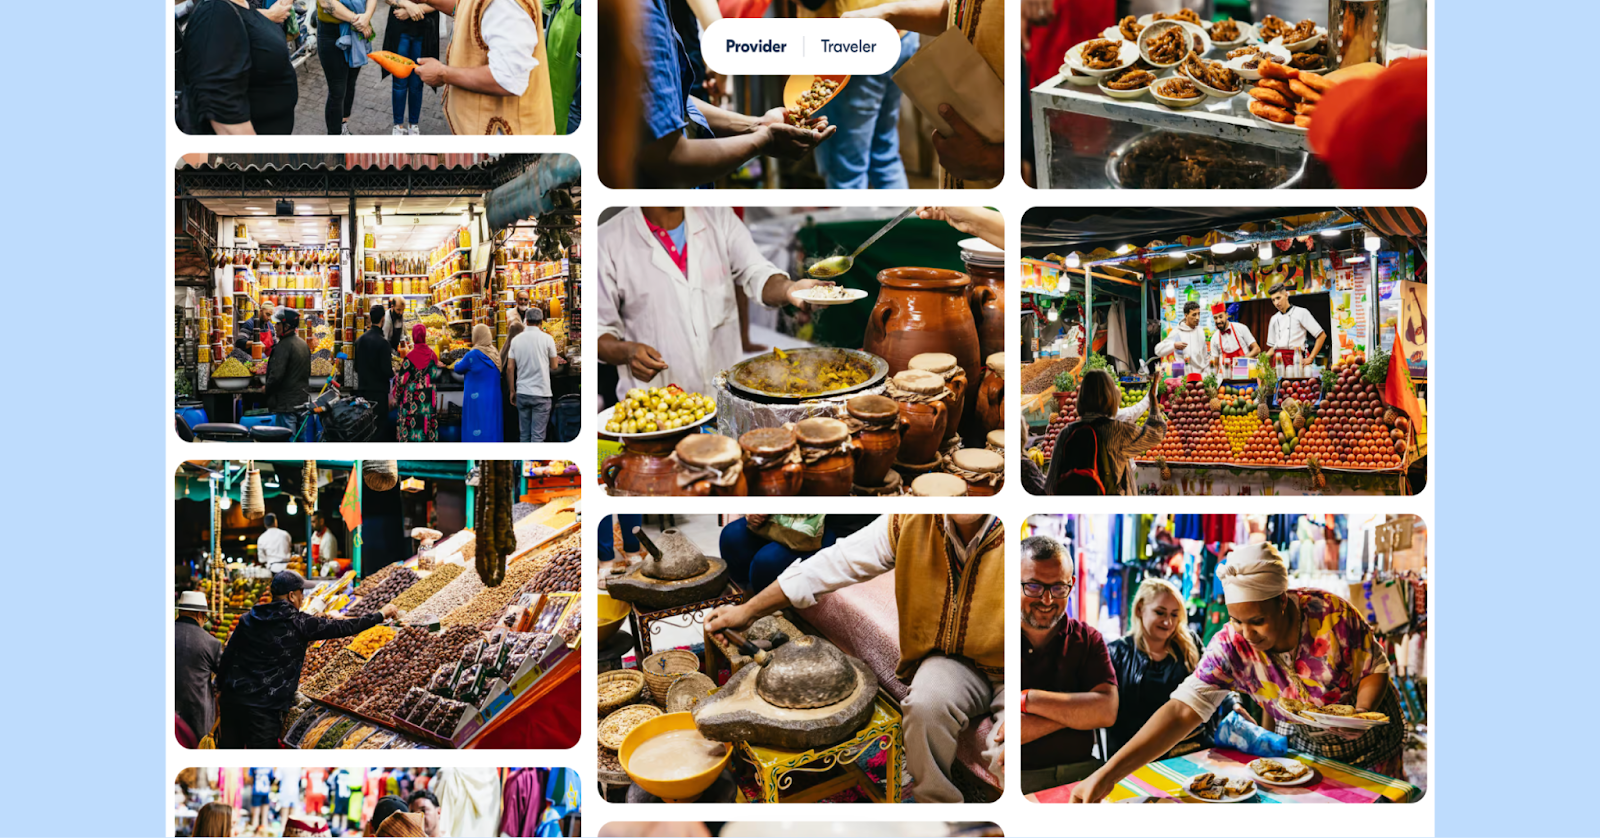
Example: The Marrakech Street Food Tour by Night nails this – illuminated food stalls, steam rising, and travelers' faces glowing under market lights.
5. Plan your photo moments in advance
Don't try to photograph everything. Pick 3-4 moments along your route where the lighting is good and the activity is interesting – those are your photo stops.
For most night experiences, your strongest photos will come from:
- Food or drink moments – tasting, toasting, sharing a meal
- Arrival at a key landmark or viewpoint
- The guide explaining something interesting while the group leans in
- Any "wow" moment – a reveal, a surprise, a stunning view
If your experience genuinely happens in the dark (stargazing, night hikes, bioluminescence tours), you’ll of course want to capture the magic and show you're prepared.
For example:
- The night sky or natural phenomenon you're there to see
- Silhouettes of people against illuminated backgrounds: campfires, distant city lights, moonlight
- Your lighting equipment in use: headlamps, lanterns, flashlights. These photos reassure travelers that you're prepared and they'll be able to navigate safely.
- Moments of wonder: faces lit by phone screens looking at star maps, eyes wide at something amazing.
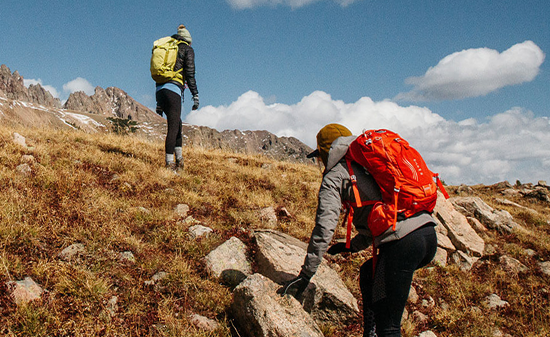
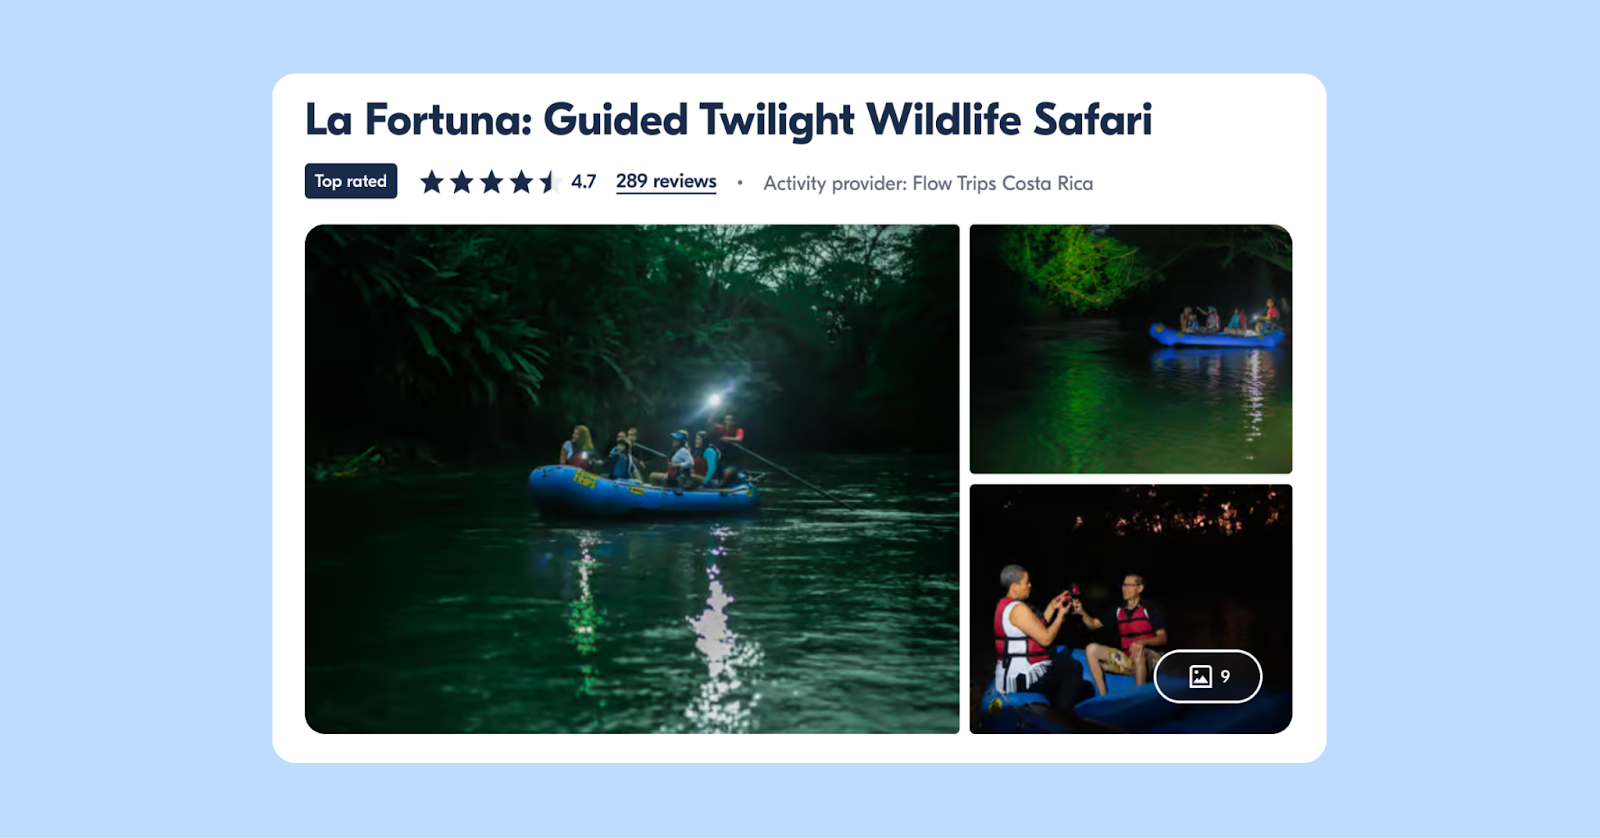
Example: The La Fortuna Guided Twilight Wildlife Safari captures animals in blue hour lighting – enough detail to see what's happening, with that magical dusky atmosphere.
6. Always show real people with visible faces
Artistic landscapes might look beautiful, but they don't help travelers imagine themselves on your tour. People create emotional connection.
Include people in photos, and make sure faces are visible and clearly lit in at least half your gallery.
Go for candid over posed. The best photos show authentic moments: someone mid-laugh, a group leaning in to hear the guide, travelers pointing at something exciting. If you need to direct people, ask them to interact with each other or look at something in the environment, then capture that natural moment.
Quick tips:
- Position people near the light sources along your route (see Tip 3) so faces are clearly visible
- Show warm, inviting scenes: food being shared, stories being told, drinks being raised
- Use close-ups where artificial light creates intimacy and atmosphere
- Capture lit up landmarks that provide context and recognition (travelers want to know where they're going)
7. Use your smartphone's night mode
Modern smartphones are surprisingly good at night photos.
Night mode takes multiple exposures and combines them into one bright image. It reduces noise and captures detail you wouldn't get from a single shot.
How to get the best results:
- Use night mode every time you shoot in low light. It activates automatically on most phones, but you can also trigger it manually. You'll see a moon icon or "Night Mode" indicator on your screen.
- Keep your phone steady. Night mode takes several seconds to capture multiple exposures, so any movement creates blur. Lean against a wall, rest your phone on a stable surface, or use a small tripod.
- Tap on faces to set the exposure. This stops the camera from making faces too dark when there's a bright background.
- Shoot during blue hour when there's more ambient light.
- Take multiple shots of the same moment; you'll have better options to choose from, and you can pick the sharpest, best-exposed image.
Your next steps
You don't need to overhaul everything at once. Small improvements can make a big difference.
- Start by looking at your first photo with fresh eyes. Is it your absolute strongest image? If not, swap it.
- Review your full gallery. Does it tell a clear story? Are faces visible? Is the lighting balanced?
- Plan a photo session during golden or blue hour. Bring a friend or past customer to model as a traveler, walk your route, and capture the moments that matter.
- Test changes and pay attention to results. If you swap your first photo, monitor your Analytics over the next few weeks.
Your takeaway
Great night tour photos aren't about expensive cameras or perfect darkness. They're about timing, light sources, and showing travelers what they'll actually experience.
Choose a first photo that's visually stunning, emotionally compelling, and clearly shows what travelers will experience. Build a gallery that backs up that promise with clear, well-lit photos. And remember: the right photo strategy helps travelers imagine the unforgettable evening they'll have with you. That's what turns interest into bookings.

.png)