


Your first photo is the most important photo in your listing. Learn why it matters and how to choose one that drives more bookings.
Think about the last time you scrolled through activities online. What made you stop and click? Chances are, it was a great photo.
Your first photo—what we call your "hero image"—is the single most important photo in your listing. It's what travelers see first in search results, on your activity page, and across GetYourGuide's platform. It's your one chance to make a powerful first impression.
Here's what our data shows: Activities with high-quality first photos get significantly more clicks than those without. In fact, 55% of travelers rank photos among the most helpful factors when deciding to book (source: Travel Experiences Trend Tracker, Spring 2025).
Your first photo can be the difference between a traveler choosing your experience or scrolling past it.
In this article, we'll show you exactly how to pick or create a first photo that stops travelers mid-scroll and gets them excited to book.
Why your first photo matters most
Your first photo does the heavy lifting for your entire listing. Before travelers read your description, check your reviews, or look at your price, they see your first photo.
If it doesn't grab attention immediately, travelers move on to the next option.
The data backs this up:
- 55% of travelers rank photos among the most helpful factors when deciding to book (source: Travel Experiences Trend Tracker, Spring 2025)
- Activities with attractive first photos often see better click-through rates and more bookings
- High-quality photos keep potential customers on your page longer, giving them time to fall in love with your experience
Your first photo appears everywhere—in search results, at the top of your activity page, in emails, and on social media. It needs to work hard across all these places, especially on mobile phones where most travelers browse.

💡 Quick test: Pull up your listing on your phone right now. Look at your first photo in the GetYourGuide search results. Does it immediately make you want to click and learn more? If not, it's time for a change.
What makes a great first photo
A great first photo does three things at once: it grabs attention, shows what makes your experience special, and makes travelers want to learn more.
Here's what to aim for:
Show the main attraction clearly
Your first photo should answer the question: "What will I experience?" in a single glance.
- Feature the key location, landmark, or activity front and center
- Use wide shots that show the full scene, not close-ups of details
- Capture the atmosphere—what does it feel like to be there?

Example: Cappadocia: Sunrise Hot Air Balloon in Göreme and Transfer shows colorful hot air balloons floating over the unique rock formations at sunrise. You immediately see what you'll experience and where you'll go.
Put people front and center
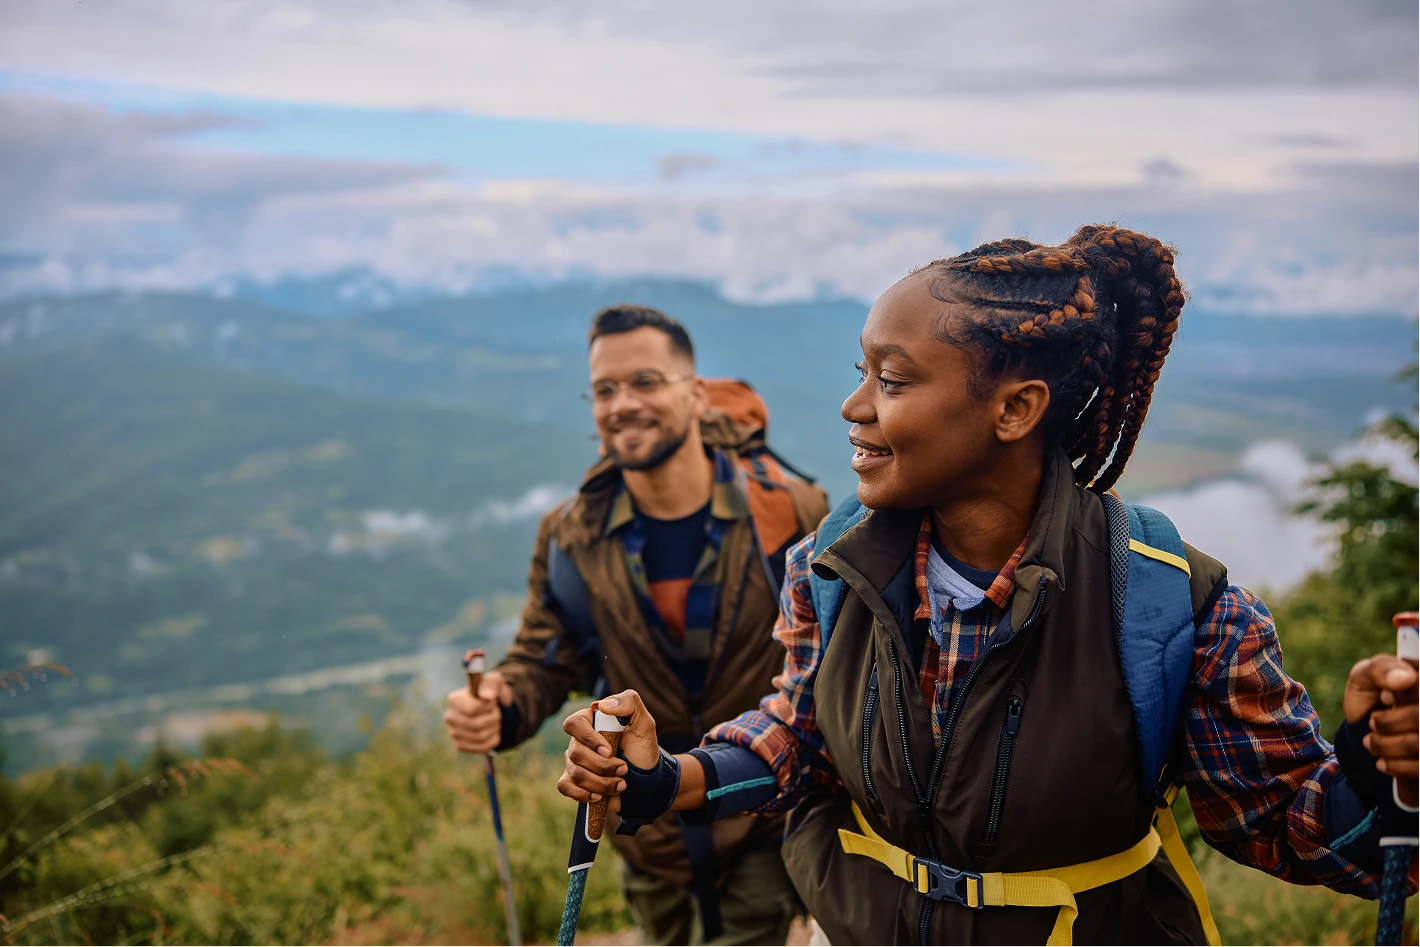
Photos with people create an emotional connection. Travelers want to imagine themselves in your experience.
- Show real participants having fun—genuine smiles, not posed shots
- Capture action and movement, not static scenes
- Feature authentic moments of discovery, excitement, or wonder
Why it works: When travelers see others having fun, they want that same experience. It's social proof in action.
Make it aspirational
Your first photo should make people think, "I want to be there right now."
- Highlight what makes your experience unique
- Show the best moment or view from your tour
- Use vibrant, true-to-life colors that pop on screen
- Ensure it looks great on mobile—clear, simple, and instantly understandable

What to show based on your activity type
To best represent the experience and attract the right customers, your first photo should be tailored to your specific activity type.
- Entrance tickets: Show the main attraction itself—the iconic building, monument, or landmark that travelers are coming to see.
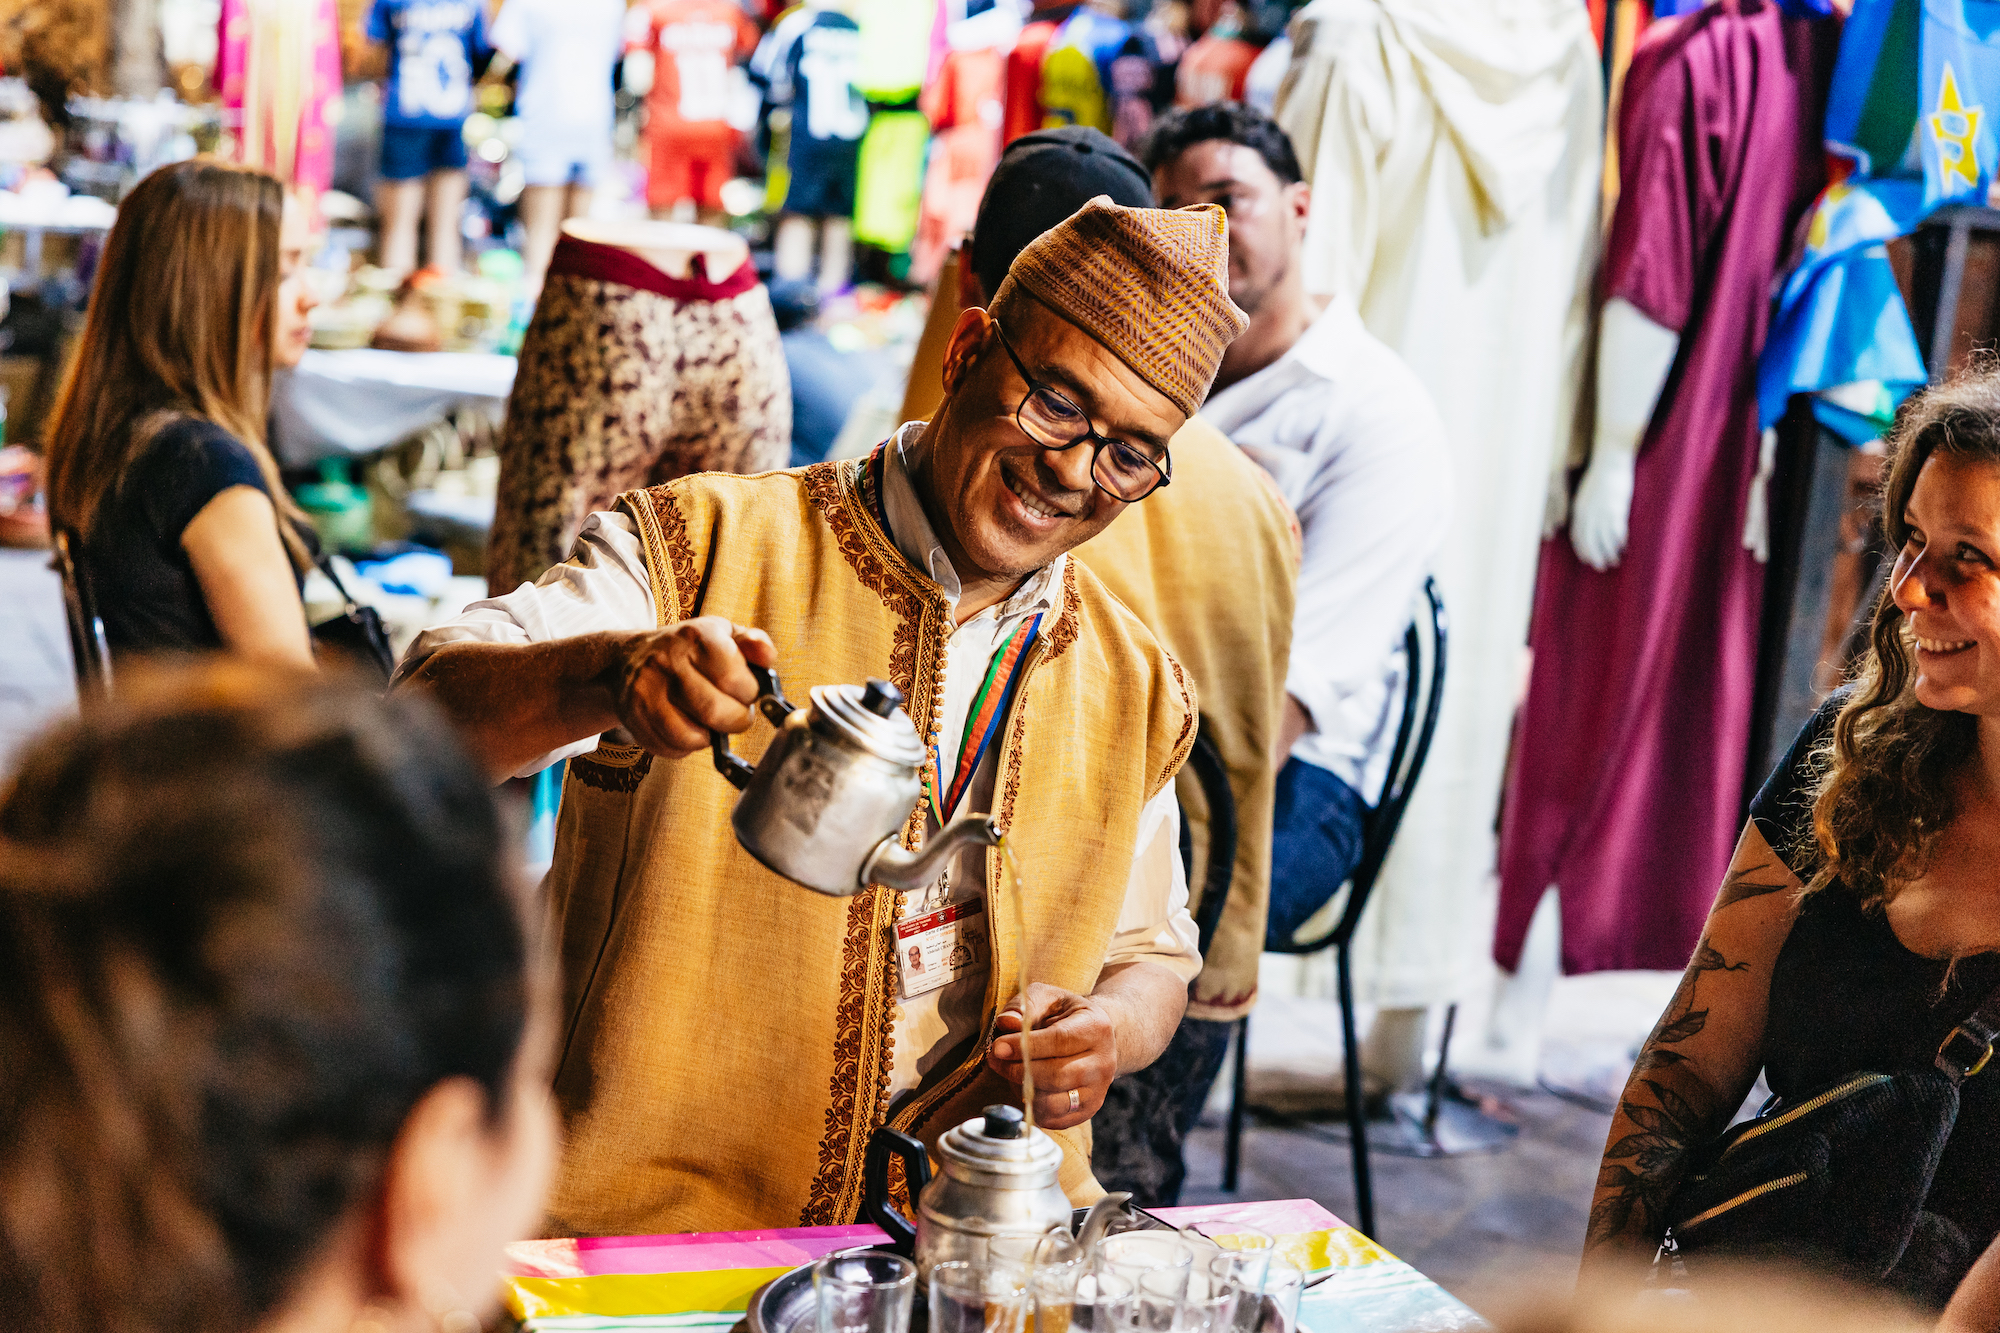
- Guided tours: Capture participants actively engaged in the experience with genuine reactions.
- Food and drink: Show the food, the setting, and people enjoying the meal together.
- Classes and workshops: Feature hands-on action—people creating, learning, or making something.
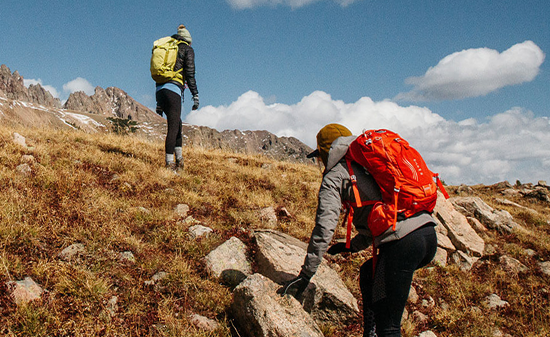
- Adventure activities: Capture the thrill and excitement mid-action.
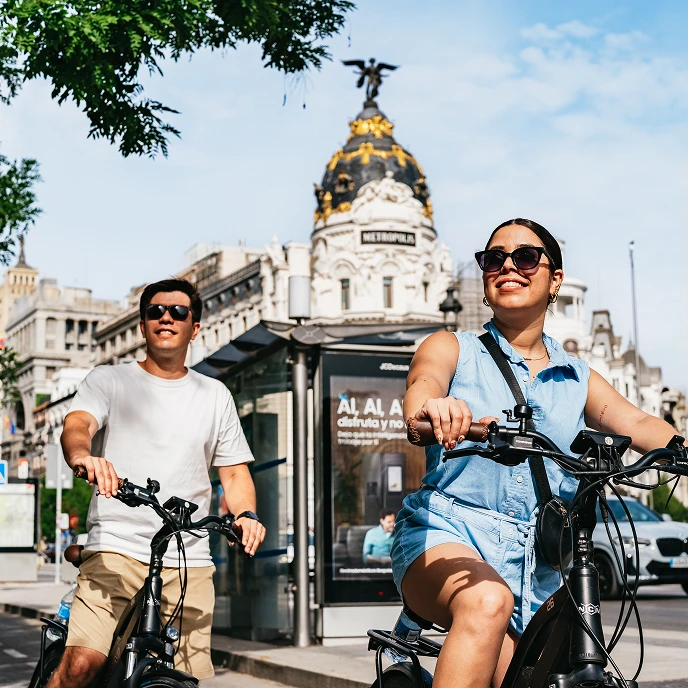
- Motorized activity: Show the vehicle with the destination or scenery in the background.
The quick quality check for your first photo
Before you choose your first photo, ask yourself these three simple questions:
- Quality: Is it sharp, well-lit, and well-composed?
- No blurry or dark photos
- Proper lighting (natural light works best)
- Clear focus on the main subject
- Appeal: Does it make people want to click and learn more?
- Creates immediate interest
- Shows something exciting or beautiful
- Stands out from other listings in the same area
- Relevance: Does it show what customers will actually experience?
- Accurately represents your activity
- Shows the right time of day (don't use daytime photos for evening tours)
- Represents the current season and conditions
- No misleading or generic stock photos
If your first photo doesn't pass all three checks, it's time to find a better one.
Common first photo mistakes to avoid
Now that we've covered best practices, here are the most common mistakes to avoid:
- ❌ Close-up or detail shots as your first photo. Save these for later in your gallery. Your first photo needs to show the big picture.
- ❌ Vertical photos. These get cropped awkwardly across the platform. Always use horizontal photos.
- ❌ Generic, AI-generated, or stock-looking photos. Travelers can spot these immediately. Use real photos from your actual tours.
- ❌ Outdated photos. If your tour has changed or the season is different, update your photos to match the current reality.
- ❌ Photos that set unrealistic expectations. Don't show an empty tourist attraction if it's normally crowded. Be honest about what travelers will experience.
Avoiding these mistakes will make your photos more trustworthy and appealing.
How to improve your first photo today
You don't need to hire a photographer to improve your photos. Here are three things you can do right now:
1. Review your current first photo
Pull up your listing on your phone and look at your first photo in GetYourGuide’s search results.
Ask yourself:
- Does it immediately show what makes my experience special?
- Would I click on this if I were searching for activities?
- Does it look good on a small screen?
2. Reorder your existing photos
You might already have a better option in your gallery.
- Go to your Supplier Portal.
- Select your product and click “See details.”
- Click “Edit details” and go to Photos.
- Move your strongest photo to the first position.
3. Take a new photo
Most smartphones take excellent photos.
- Use natural light: Shoot during the day and turn off your flash.
- Keep it horizontal: Hold your phone sideways.
- Show the action: Capture real moments during your tours.
- Include people: Get permission from guests and photograph genuine reactions.

Technical basics: Photo requirements
- Minimum size: 1280x960 pixels (ideal: 2048x1536)
- Format: Horizontal/landscape with 4:3 aspect ratio
- File type: Color photos only
- No watermarks or text overlays
Need more help? Check out our guide on how to take photos of your activity using just your phone.
Test and improve
The best way to know if your first photo is working is to test it. Try updating your main photo every few weeks and track your booking rates.
High-quality, authentic images can make a huge difference in attracting customers. By applying the tips in this article, you'll help travelers imagine themselves in your experience and make them more likely to book.
Remember: Your first photo is often the first thing a traveler sees. Make it count.
Update your photos in the Supplier Portal
If you want to optimize your listings even further, check out our Essential Guide to Launching Your Activity on GetYourGuide for more tips.